Friday, August 17, 2012

Half-Sugar Strawberry Rhubarb Crisp with Chia seeds - Whole Wheat or Gluten-Free

Growing up in a Chinese household during the 70's and 80's, my parents would predominantly cook Chinese meals for dinner.  Usually, we had the classic stir-fried vegetables with slices of meat and lots of fluffy white rice.  If we were lucky, we had ice cream for dessert.  How much we looked forward to hauling out that 4L/gallon bucket of Neapolitan (strawberry/vanilla/chocolate) ice cream!


What a contrast nowadays!  I guess I got tired of Asian food and wanted branch out.  Rhubarb is not what we ate growing up.  I have two rhubarb plants in my garden and this season, I have harvested and frozen enough to last the year!  It's mid-August and in my rural BC town, my rhubarb plants are still producing!  After playing around with Strawberry Rhubarb pie, I wanted to try a lower sugar version of Strawberry Rhubarb crisp.   

There are so many recipes out there but I wanted something super easy and not loaded with too much sugar and fat.  Of course, if you want to add more sugar and butter, be my guest!


This basic recipe uses whole wheat flour and half the amount of sugar compared to conventional recipes.  It got rave reviews in our household!  The kiddies wanted it for breakfast the next day.  I was worried that it would be too sour, but it wasn't for us.  Our strawberries were sweet, so that helped. 

For fun, I also made this gluten-free with great results.  Oats can be contaminated with gluten during processing, so if you are serving oats to guests who are gluten-sensitive, make sure they are certified gluten-free on the package. 

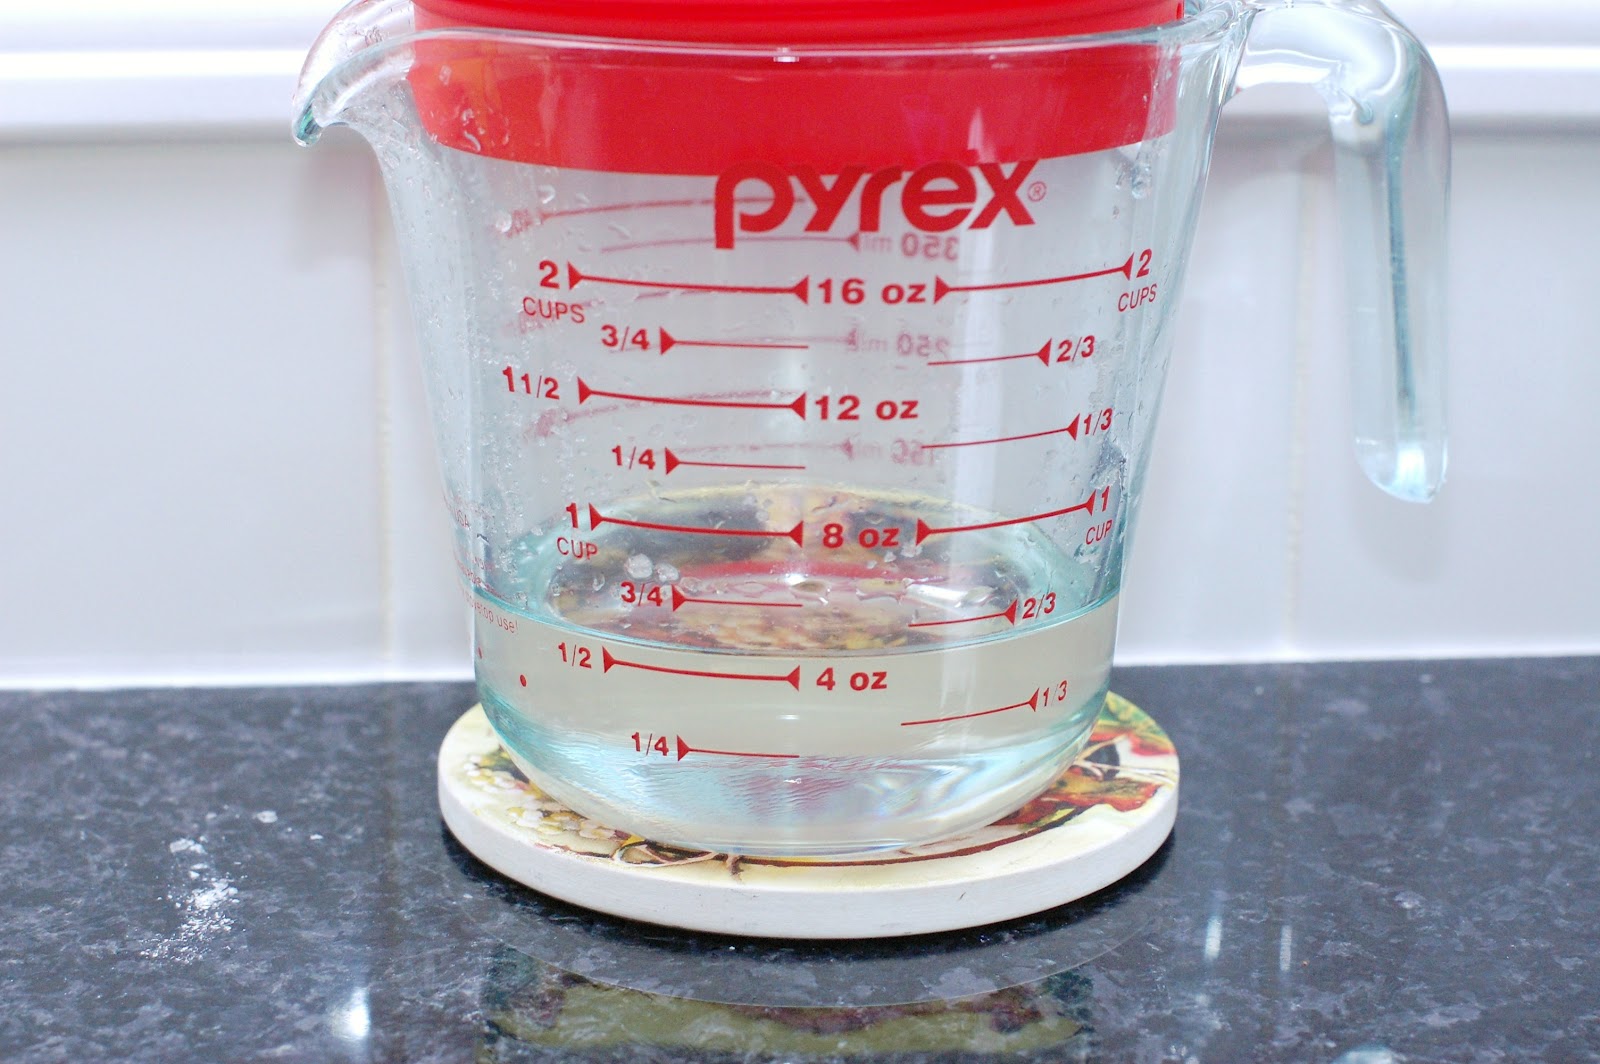
Instead of using whole wheat flour to thicken the filling, I mixed in chia seeds and arrowroot starch.  I bought a few scoops of chia seeds from the bulk organic section my grocery store to try.  Apparently, it has great thickening properties, extra fibre, and plant omega-3s, like flaxseed, according to the Globe and Mail.   I like to try different kinds of food... sometimes it's healthy...sometimes not! 


In the lower left corner in the picture above, you can see the chia seeds in the sauce.  The chia seeds swell up, like tiny tapioca pearls.  They absorb the extra liquid and I don't notice a difference in taste. 

Next time, I will try using quinoa flakes in place of the rolled oats.  With these substitutions, this has been very forgiving recipe with whatever ingredients on-hand!


Half-Sugar Strawberry Rhubarb Crisp with Chia seeds - Whole wheat or Gluten-free

Filling:
1/2 cup sugar (I used 1/3 cup sugar)
3 Tbsp whole wheat flour or cornstarch (I used 1 Tbsp chia seeds + 2 Tbsp arrowroot starch)
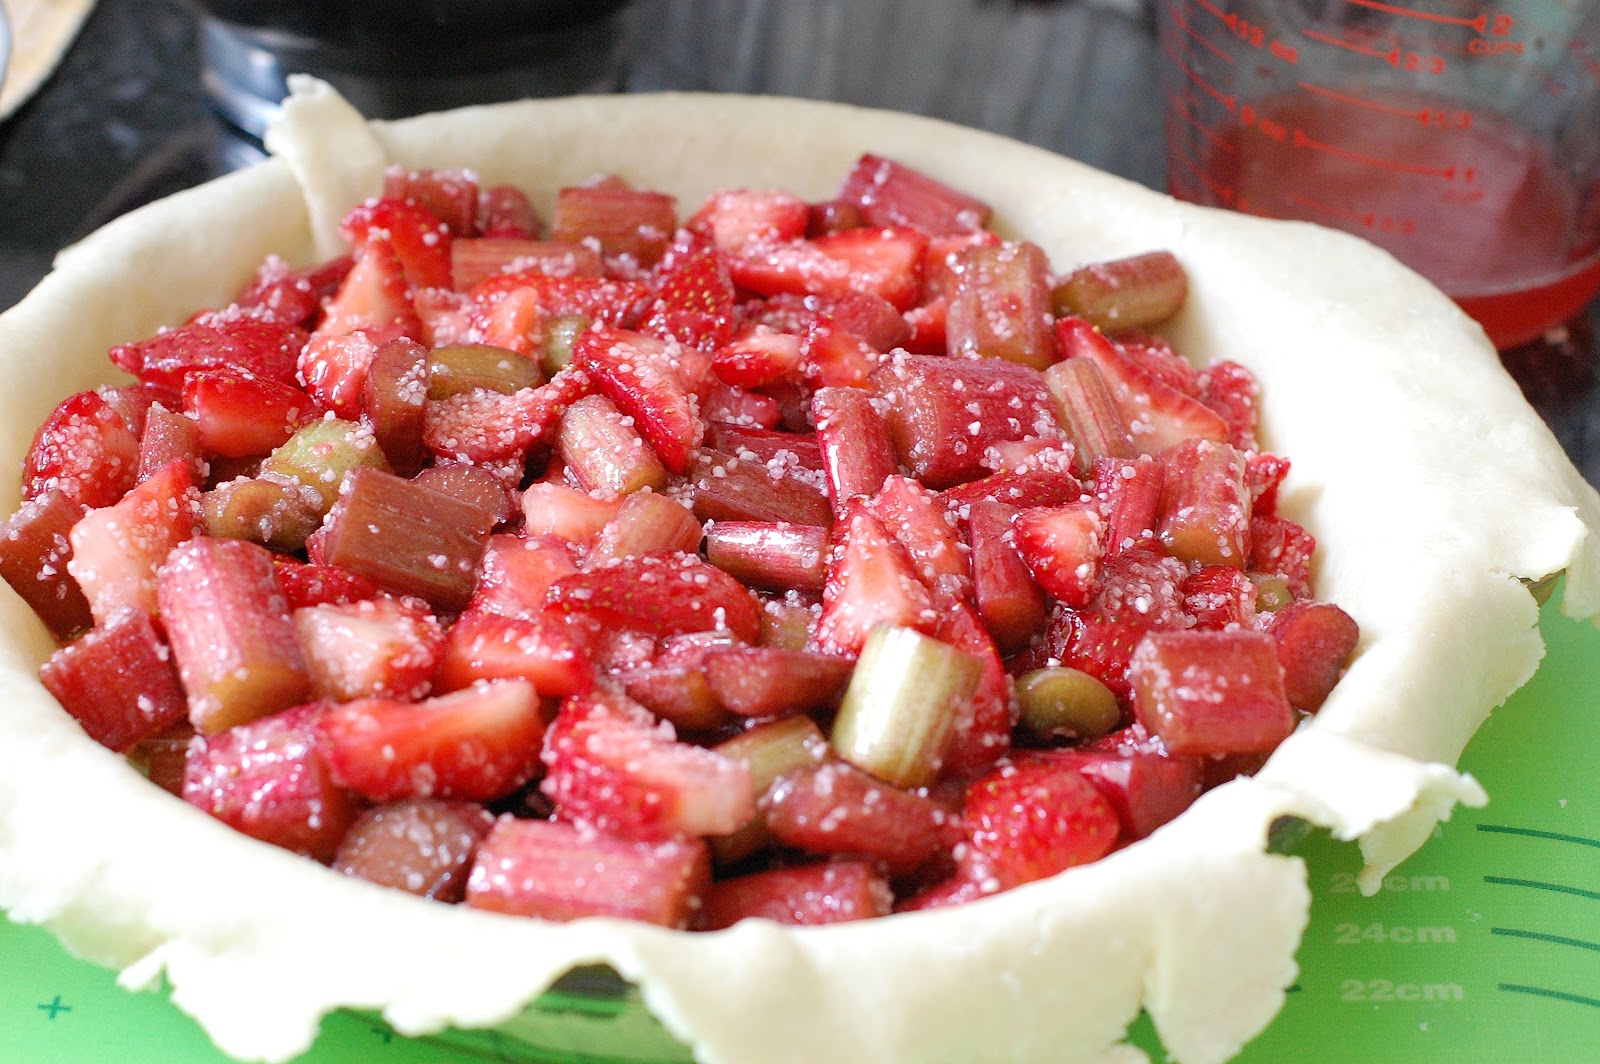
3 cups quartered strawberries
3 cups diced rhubarb (about 1/4-1/2-inch chunks or about 1.5cm)
1/4 tsp cinnamon

Topping:
2/3 cup rolled oats (I will try quinoa flakes next time!)
1/3 cup brown sugar, packed (I used 1/4 cup)
1/4 cup whole wheat flour (or your fave gluten-free baking mix*)
1 Tbsp butter, melted (I needed to use 3Tbsp melted butter with the gluten-free flour)
dash of cinnamon

Mix first 5 ingredients for the fruit base. Pour and spread evenly in a 2.5qt/L dish.

Mix topping ingredients, spread evenly over the fruit base.

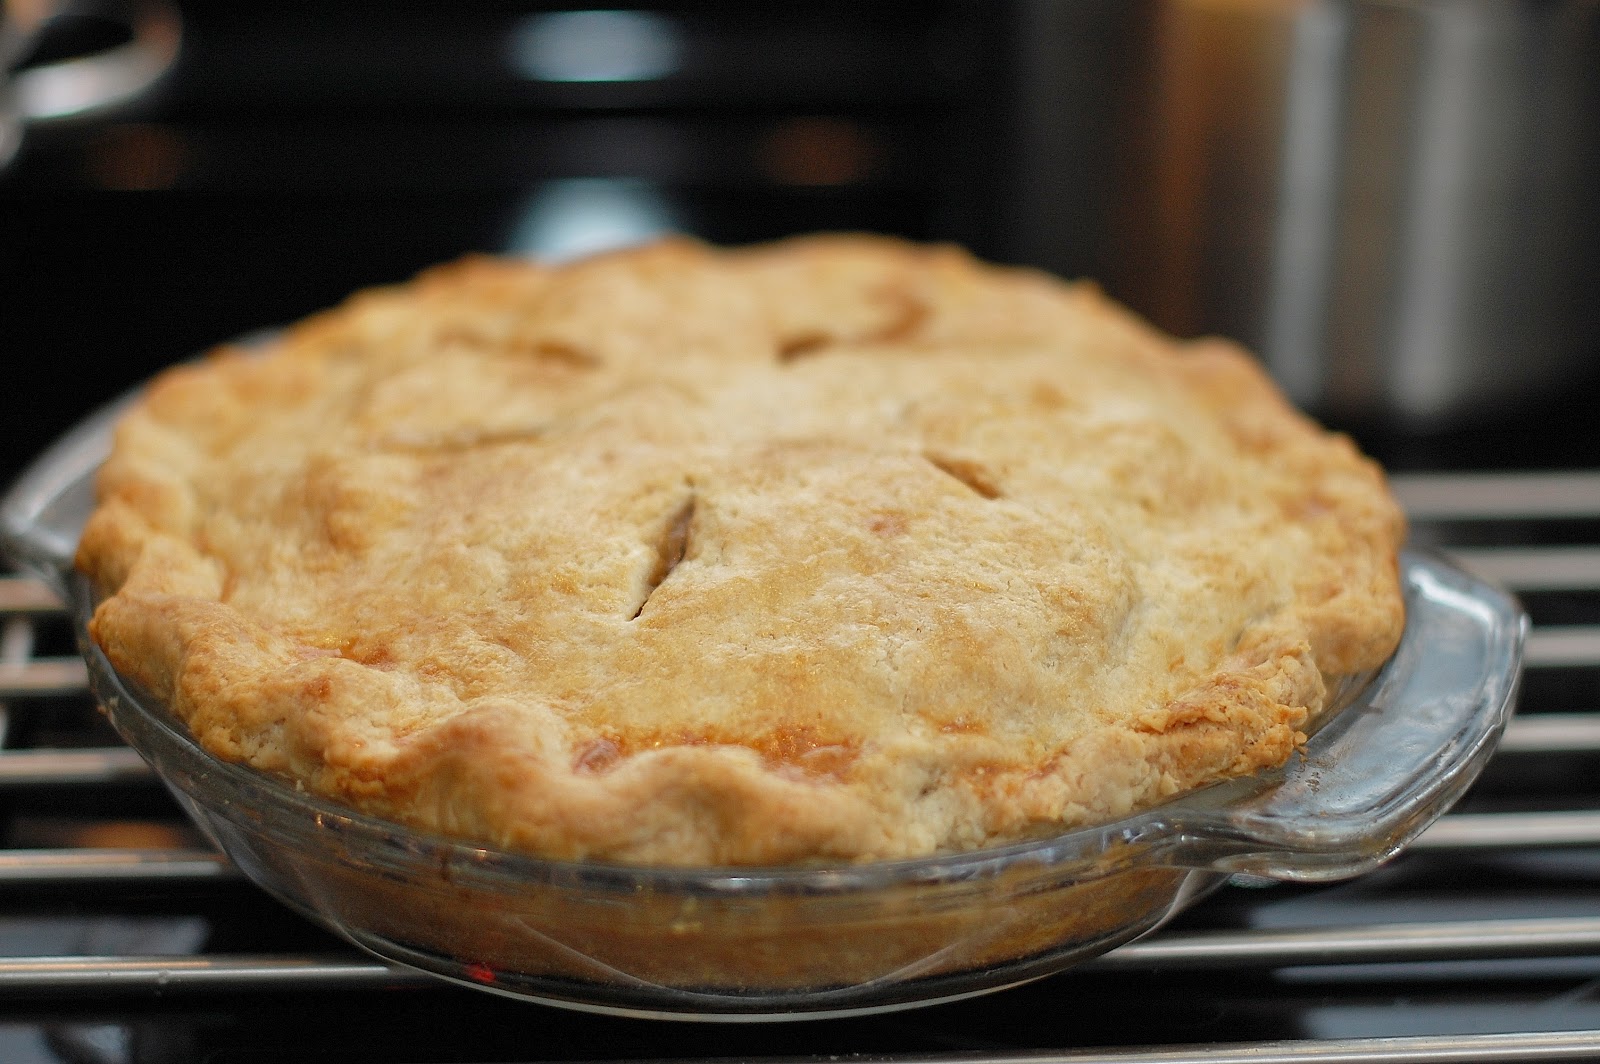
Bake at 350F for 45 - 55 minutes until bubbly.

Serve warm or at room temperature.  With ice cream is good too.  

- Adapted from SparkRecipes: Strawberry Rhubarb Crisp

*As for the gluten-free baking mix, I tried  Bob's Red Mill Gluten-free All-purpose flour mix for a different recipe and I didn't like it.  It had a strong (nasty) aftertaste, due to the bean flour added to it.  To salvage this, I used 2 Tbsp of Bob's GF flour, 1 Tbsp rice flour, 1/2 Tbsp tapioca starch and 1/2 Tbsp potato starch to make up 1/4 cup flour.  Gluten-free flour mixes usually have a combination of rice flour, tapioca and potato starches. 


 We served our strawberry rhubarb crisp with homemade vanilla bean ice cream. YUM!

Enjoy!
Pin It

Tuesday, August 14, 2012

Homemade Iced Coffee with Microwave Simple Syrup

In my small town, we have several small coffee shops and a Tim Horton's.  It is a treat for us to go out for coffee.  With the warm summer weather, iced coffee is a wonderful, refreshing treat but the price tag is not!  I remember paying at least CAD$3.50 for a medium cup.  I think making this at home would be economical for a group of mommies at a playdate!


In general, I hate waste.  As an experiment, I refrigerated leftover morning coffee in a glass pyrex container.  The next day, I reheated it and enjoyed it.  My taste buds were not perceptive enough to notice a difference between today's and yesterday's home brew so I save leftover coffee now.  Hubby is the same.  One hot day, I decided to throw some ice cubes, milk and sweetener in some leftover coffee I had in the fridge and the rest is history.  I've read that some people complain about the bitterness and oxidation of coffee, etc.  It doesn't bother us.  Everybody's palate is different! 

To last a few days, I brew a strong pot of coffee, cool it down, and pour it in a nice pitcher for the fridge.  Serve with ice, your milk of choice and your sweetener of choice.  The ice cubes will dilute the cold coffee, so you may want to make your pot of coffee stronger.  For us, we are OK with a weaker iced coffee.  I don't need so much caffeine in the afternoon. You can even freeze your leftover coffee in ice cubes but I didn't want to stain my white ice cube tray.

Looking online, there is the "cold brew" method of making iced coffee, where you steep the coffee grounds in cold water for 8-24 hours, filter out the grounds and keep this concentrate in the fridge. But for this busy mom, I haven't felt the need to make it this way (yet).


Homemade Iced Coffee

- Cooled strong pot of coffee (1 1/2 to double strength,  if preferred)
- Ice
- Milk or cream of your choice
- Sweetener of your choice or simple syrup (below)

Make your normal or a stronger pot of coffee.  Let cool and transfer cooled coffee in a container and store in refrigerator.  Serve with ice,  milk of your choice and sweetener of your choice.  Enjoy.

Out of curiosity, I made a simple syrup in the microwave, as I have heard that it dissolves better in iced coffee than white sugar.  Simple syrup is 2 parts sugar dissolved in 1 part water. 


Microwave Simple Syrup

1 part water (e.g. 1/2 cup water)
2 parts sugar (e.g. 1 cup white sugar)

Microwave 1/2 cup water in a microwave-safe 2-cup glass measuring cup at HIGH 1 minute or until very hot. Stir in sugar; stir 20 seconds. Microwave at HIGH 30 seconds; stir until sugar is dissolved and mixture is clear. Microwave another 30 seconds if needed.  Be careful not to boil this mixture over.  Cover and chill until ready to use. Store in an airtight container in refrigerator up to 1 month.

- Adapted from Southern Living's Super Simple Syrup


 I have a cool carafe of iced coffee in the refrigerator.  Feel free to drop by for a glass! 

Enjoy!
Pin It

Thursday, August 2, 2012

Strawberry Rhubarb Pie


I am very happy with my rhubarb plants this year.  So far, I managed to freeze a bunch of rhubarb for later use, where I normally make strawberry rhubarb coffee cake from an old 1970's recipe book.  My latest challenge is making strawberry rhubarb pie.

Yesterday, I harvested about 3lbs, which means I have plenty of rhubarb to play around with!  My last strawberry rhubarb pie was a tasty hot mess. It looked gorgeous when I pulled it out of the oven, but was very watery when I tried to serve it.  My children and husband were so gracious and kind. They declared it to be the tastiest strawberry rhubarb pie they had. 

I found a simple recipe from Serious Eats with a trick to keep the pie from being too watery.  It says to add 1/4 cup of sugar to the cut rhubarb and strawberries, let it sit for an hour or so and then drain the liquid off.  (I saved the drained strawberry rhubarb juices and added some club soda for a neat refreshing drink!).

I used 3 cups of strawberries and 3 cups of rhubarb for my pie and drained a little over 1/4 cup of excess liquid!


Next, the recipe uses tapioca or cornstarch but I wanted to try instant tapioca.  I bought a few scoops of it from the bulk food section of my supermarket.  The brand name is Minute Tapioca, but for over $3/box, I thought I'll try out a few scoops for pennies instead.  


I wasn't sure if the instant tapioca would dissolve properly in the pie, so let it sit with the fruit and sugar for 10-15 minutes to soften the tapioca grains. 


hehehe, I like making "rustic" imperfect pies with thick crusts.  It's hard to concentrate when the kids were hovering around me.  I put it in the oven at 400F for 15 minutes, then turned it down to 350F for another 30-40 minutes. 


Boy, was it a juicy pie!  Not very pretty but it only means that I need more practice!  I didn't put a pan underneath to catch the drips, so some of the juices bubbled over and made a little mess on the bottom of my oven.  The instant tapioca thickened the juices nicely.  The hardest part was waiting for the pie to cool and for the filling to set nicely.  I made this at lunchtime so it would be ready to serve after dinner.


It was not runny at all!  Success!!!  The pie was very tasty but an extra tablespoon or 2 of sugar would be good, since some sugar was lost in the drained liquid.  If the rhubarb did not exude so much liquid, then less sugar would be lost. My kiddies enjoyed this so much they wanted pie for breakfast!  I think this method would also work for frozen strawberries and frozen rhubarb.  Still work in progress but at least it is a yummy adventure!

Strawberry Rhubarb Pie

One recipe of your favourite double-crust pie dough 
3 cups sliced strawberries
3 cups rhubarb, cut in 1/2-inch pieces
3/4 cup sugar (or less/more to taste), divided (If more than 1/4 cup juices drained, add extra 2 Tbsp with the cornstarch)
4 tablespoons cornstarch or tapioca starch (I used instant tapioca)
egg wash (1 egg yolk beaten with 1 tsp water)
turbinado sugar for sprinkling (optional)

Preheat oven to 400° F. Core and quarter strawberries. Chop rhubarb into 1/2 inch pieces.

Toss strawberries and rhubarb together with 1/4 cup of sugar, and allow them to macerate (the sugar will begin to break down the fruit, releasing some liquid) for 20 minutes.

Drain off excess liquid from the strawberry mixture using a china cap or strainer.

Whisk together remaining 1/2 cup sugar and cornstarch or tapioca starch. Add the sugar mixture to fruit mixture. Stir well until all of the starch has dissolved.  Pour filling into prepared, chilled dough shaped in a pie plate.

Place the chilled, rolled top crust over the filling. Trim the edges and crimp as desired. Cut slits or patterns in the top with a sharp pairing knife. Chill for 20 minutes before baking.

Apply egg wash to the top of the pie and, if you'd like, sprinkle with turbinado sugar.

Bake for 15 minutes at 400F, then reduce temperature to 350F and bake for an additional 25 to 30 minutes.  Bake until the top is a deep golden brown and filling is bubbling in the center.  Allow pie to cool for several hours before serving.


Enjoy!
Pin It

Basic Buttery Pie Crust

Pie crust has been something I was never able to make ever since I moved to 100 Mile House.  When I lived in Vancouver, it was never a problem.  Years later, I finally had my "A-ha!" moment and realized that humidity was a big factor.  In 100 Mile, the humidity is much drier than Vancouver, so the flour's moisture content plays a big role.   


My problem was that my dough always came out very tough and rock hard!  The culprit was too much water, hence a hard, tough crust.  Normally, I dumped some of the water to the flour, mixed it around for a few seconds and kept adding water til it stuck together. 

For some reason, I realized that I had to be more patient when incorporating water in the crust. What worked for me is to add 4Tbsp cold water first and mix with a fork for at least 15-20 seconds to make sure the flour absorbs the water properly.  Then add cold water 1 Tbsp at a time, tossing the mixture around for at least 10-15 seconds before adding the next tablespoon water until shaggy bits of dough formed.  If the shaggy dough bits stick together when you squeeze it with your fingers then the dough has enough water.  I never did that before and ended up adding considerably more water than the recipe called for, which led to a tough, hard crust. 

I figured that basic pie crust recipe from the Crisco shortening box was a good start.  There are good crust recipes out there that use egg ,vinegar, more fat and flour.  I didn't want to waste any more ingredients if my crust turned out to be another disaster!  I like to use a combination of both butter and shortening.  It is personal preference and taste.  I love the taste of butter in pie crusts and the texture of shortening in the crust.  I think you could interchange your favourite pie fat in this recipe.  I'll try coconut oil when I run out of shortening.


Basic Buttery Pie Crust
- Adapted from the recipe on the Crisco shortening box
 
2 cups all-purpose flour
1/4 tsp salt
3 Tbsp sugar
1/2 cup butter
1/4 cup shortening
4-8 tablespoon ice cold water (I needed 8 Tbsp)

Blend flour, sugar and salt in medium bowl. Cut in shortening (and butter) using pastry blender (or 2 knives) until all flour is blended in to form coarse crumbs with pea-size chunks. 

Sprinkle with 4 Tbsp (60mL) ice cold water over flour mixture.  Using a fork, stir and draw flour from bottom of bowl to the top; press chunks down to bottom of bowl with fork.  Add more water by the tablespoon, mixing until dough holds together.  This is when the shaggy bits of dough holds together when you squeeze it.  

Divide dough in half, one ball slightly larger than the other.  Flatten ball into 1/2 inch (1.5cm) thick disks, wrap in plastic wrap and chill for 30 minutes or up to 2 days. (or throw it in the freezer for later use).

Place larger disk of dough on lightly floured work surface.  With floured rolling pin, roll dough outward from centre into circle 1 inch wider than pie plate.  Transfer dough into pie plate without stretching and trim evening around plate.  Fill unbaked pie crust according to recipe.  

Roll top pie crust; lift onto filled pie.   Trim dough to 3/4-inch overhang; fold top crust under bottom dough edge.  Press edges together and flute.  Cut slits in top crust.  Bake according to recipe directions.  


YUM!  I like the sides of my crust thick. With the butter, the thick part has a shortbread-like crunch that is addictive.  I didn't realize that pie making is so subjective! 


Enjoy!
Pin It